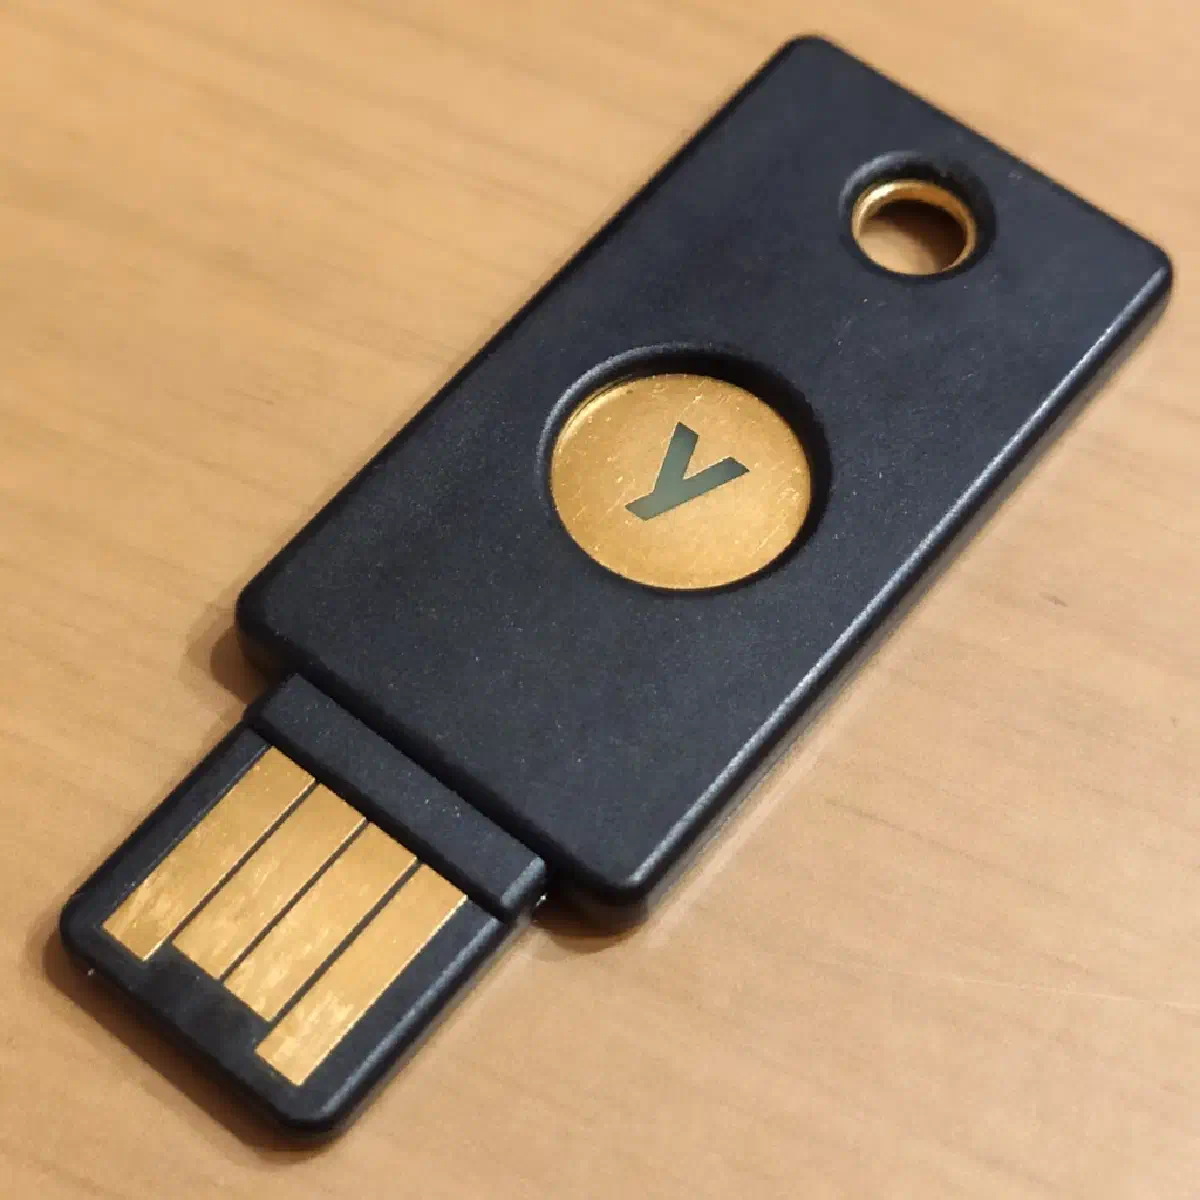
This documentation provides the complete, step-by-step process for making a physical YubiKey (on a Windows Host) accessible to Firefox on an Ubuntu VM running on Hyper-V using the open-source USB/IP project.
Phase 0: Ubuntu VM Installation Prerequisite & Network Security
The VM must run a standard kernel and be securely isolated for the USB tunnel.
- Use Canonical’s ISO: Install the latest Ubuntu LTS release directly using the ISO file downloaded from Canonical.
- Avoid Quick Create: Do NOT use “Quick Create” in Hyper-V Manager. This often installs an Azure-optimized kernel which lacks the essential
vhci-hcddriver required for USB/IP. - VM Network Configuration: The VM must use a private virtual network for communication with the Windows host. Avoid using a physical (external or bridged) network connection for the USB/IP tunnel to prevent interception.
Phase 1: YubiKey Pre-Configuration on Windows
Configure the YubiKey to ensure its FIDO/CCID interfaces are ready and the default OTP function doesn’t interfere.
- Install YubiKey Manager: Download and install the official YubiKey Manager application on your local Windows machine.
- Insert YubiKey: Plug in your YubiKey.
- Delete Short Touch OTP: Go to Applications → OTP. Under Short Touch (Slot 1), select Delete.
- Enable All Interfaces: Go to Interfaces. Ensure OTP, FIDO, and CCID are all enabled for the USB interface.
Phase 2: Windows Host Setup (usbipd-win Server)
This machine hosts the YubiKey and shares it across the network.
- Install
usbipd-win: Open PowerShell as an Administrator and install the modern USB/IP server.
1winget install --interactive --exact dorssel.usbipd-win
- Bind the YubiKey: Run the following command to list devices. The YubiKey often appears as
USB Input Device, Microsoft Usbccid Smartcard Reader (WUDF). Find its Bus ID (e.g.,9-1), and then bind it.
1usbipd list
2usbipd bind --busid <YubiKey-Bus-ID>
- Configure Windows Firewall: The
usbipdservice should run automatically. Ensure the Windows Firewall is configured to allow traffic on port 3240 only for your VM’s private network and is blocked on Public and Domain networks to prevent external access to your USB devices. Run the following command to create the firewall rule:
1New-NetFirewallRule -DisplayName "USBIP Daemon (3240)" -Direction Inbound -LocalPort 3240 -Protocol TCP -Action Allow -Profile Private
Phase 3: Ubuntu VM Setup (usbip Client)
This configures the VM to receive the virtual USB device.
- Install
usbipTools: Install the client utilities that match your running kernel.
1sudo apt update
2sudo apt install linux-tools-generic
- Load Kernel Modules (Temporary): Load the required modules for the current session.
1sudo modprobe usbip_core
2sudo modprobe vhci-hcd
- Enable Modules on Boot: Configure the modules to load automatically every time the VM starts by adding them to the
/etc/modulesfile.
1echo "usbip_core" | sudo tee -a /etc/modules
2echo "vhci-hcd" | sudo tee -a /etc/modules
- Attach the YubiKey: Run the command to attach the remote YubiKey, making it appear as a local device.
1sudo usbip attach --remote <Windows-IP-Address> --busid <YubiKey-Bus-ID>
- Verify USB Mounting: Run the
lsusbcommand to confirm the YubiKey was successfully mounted.
1lsusb
2# Look for an entry similar to: ID 1050:0407 Yubico.com Yubikey 4/5 OTP+U2F+CCID
Phase 4: Ubuntu Permissions and Services
This phase installs necessary software and fixes security permissions using PolicyKit.
- Install PCSC and FIDO Tools: Install tools for smart card access (CCID), FIDO/U2F access, and the YubiKey manager.
1sudo apt install pcscd libpcsclite1 libu2f-udev ykcs11 yubikey-manager
2sudo udevadm control --reload-rules
- Configure PolicyKit Rules (Access Control): Create a rule file to grant your user explicit permission to access the PC/SC daemon and the smart card.
1sudo nano /etc/polkit-1/rules.d/50-pcsc-access.rules
- Paste the following code (replace
richardwith your actual username):
 1polkit.addRule(function(action, subject) {
 2  if (action.id == "org.debian.pcsc-lite.access_pcsc" && subject.user == "richard") {
 3    return polkit.Result.YES;
 4  }
 5});
 6
 7polkit.addRule(function(action, subject) {
 8  if (action.id == "org.debian.pcsc-lite.access_card" && subject.user == "richard") {
 9    return polkit.Result.YES;
10  }
11});
- Finalize Permissions: Set file permissions and restart the service.
1sudo chmod 644 /etc/polkit-1/rules.d/50-pcsc-access.rules
2sudo systemctl restart pcscd.service
- Crucially, log out of the RDP session and log back in to ensure all user permissions are updated.
Phase 5: Firefox Installation and Configuration
The Firefox Snap package must be replaced with the .deb package to ensure proper integration with system services like pcscd.
- Uninstall Firefox Snap: Close all Firefox windows, then remove the Snap package.
1sudo snap remove --purge firefox
- Install Firefox Deb: Add the official Mozilla APT repository to get the system package.
 1sudo install -d -m 0755 /etc/apt/keyrings
 2wget -q https://packages.mozilla.org/apt/repo-signing-key.gpg -O- | sudo tee /etc/apt/keyrings/packages.mozilla.org.asc > /dev/null
 3echo "deb [signed-by=/etc/apt/keyrings/packages.mozilla.org.asc] https://packages.mozilla.org/apt mozilla main" | sudo tee -a /etc/apt/sources.list.d/mozilla.list > /dev/null
 4
 5# Set priority to prefer the Mozilla package
 6echo 'Package: *
 7Pin: origin packages.mozilla.org
 8Pin-Priority: 1000' | sudo tee /etc/apt/preferences.d/mozilla
 9
10sudo apt update
11sudo apt install firefox
- Add PKCS#11 Module: Load the Yubico library into Firefox.
- In Firefox, go to Settings → Privacy & Security → Certificates → Security Devices.
- Click Load, name the module (e.g., “Yubico PKCS#11”), and enter the file path:
/usr/lib/x86_64-linux-gnu/libykcs11.so
- Enable U2F/WebAuthn:
- In the Firefox address bar, navigate to
about:config. - Search for
security.webauthn.u2fand set its value totrue.
- In the Firefox address bar, navigate to
Final Verification
- System Check: Run
ykman infoto ensure the key’s details are displayed.
 1$ ykman info
 2
 3Device type: YubiKey 5C NFC
 4Serial number: <redacted>
 5Firmware version: 5.7.1
 6Form factor: Keychain (USB-C)
 7Enabled USB interfaces: OTP, FIDO, CCID
 8NFC transport is enabled.
 9
10Applications    USB     NFC
11OTP             Enabled Enabled
12FIDO U2F        Enabled Enabled
13FIDO2           Enabled Enabled
14OATH            Enabled Enabled
15PIV             Enabled Enabled
16OpenPGP         Enabled Enabled
17YubiHSM Auth    Enabled Enabled
- WebAuthn Test: Navigate to
https://webauthn.ioand successfully register or authenticate.